
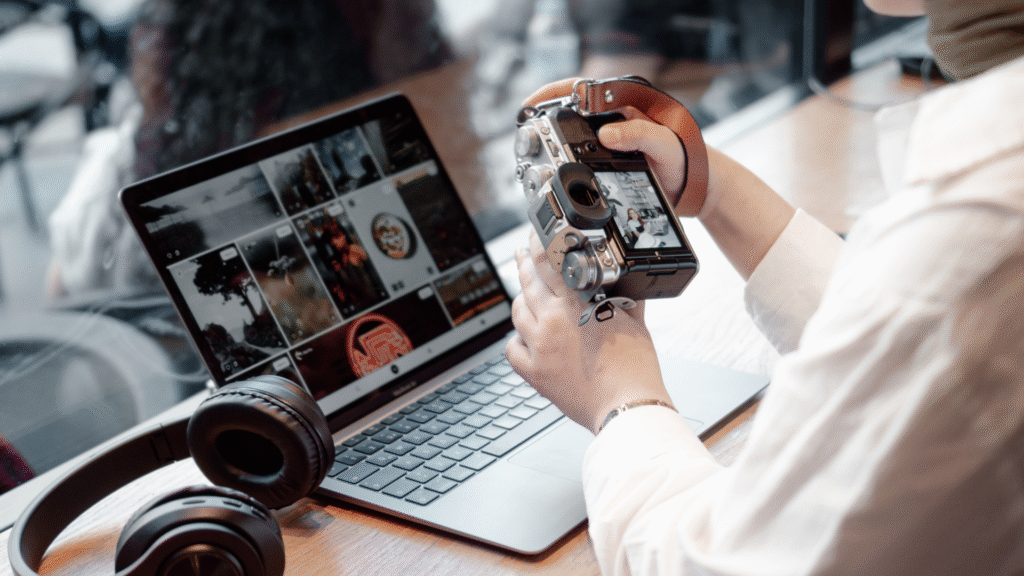
Editing travel photos can transform ordinary images into stunning visuals. Simple adjustments in lighting, color saturation, and cropping can significantly enhance the overall impact of a photograph. These enhancements not only elevate the aesthetic but also evoke the emotions of the moments captured.
Photographers often overlook the power of post-processing. Basic tools available in most editing software can help in correcting exposure, sharpening details, and removing distractions, making the final images more appealing. Understanding these techniques is essential for anyone looking to showcase their travel experiences effectively.
In a world saturated with images, standing out is crucial. By implementing a few editing tips, such as color correction and proper framing, individuals can ensure their travel photos not only tell a story but also resonate with viewers.
Foundations of Editing Travel Photos
Effective editing can significantly enhance travel photos, highlighting their beauty and bringing memories to life. Emphasizing key adjustments and the right tools can elevate visual storytelling.
Understanding Basic Adjustments
Basic adjustments form the backbone of photo editing. They cover essential aspects such as exposure, contrast, and saturation.
- Exposure: Corrects brightness, ensuring the photo isn’t too dark or light.
- Contrast: Enhances the difference between light and dark areas, adding depth.
- Saturation: Adjusts color intensity, making images more vibrant.
These fundamental tweaks can change the mood of an image. A well-adjusted photo can evoke emotions and capture the viewer’s attention.
Shooting in RAW Format
Capturing images in RAW format is crucial for high-quality edits. Unlike JPEG files, RAW files retain more detail and color information.
- Dynamic Range: RAW images offer greater flexibility for adjustments without compromising quality.
- Post-Processing: They allow extensive editing in exposure, color grading, and shadow recovery.
Photographers benefit from this format, especially when working in challenging lighting conditions. The ability to refine details effectively transforms a good shot into a stunning one.
Choosing the Right Editing Software
Selecting the suitable editing software is vital for achieving the desired results. Several options cater to different skill levels and requirements.
- Adobe Lightroom: Ideal for batch editing and organizing. It excels in enhancing travel photography with its user-friendly interface.
- Adobe Photoshop: Offers advanced editing capabilities, perfect for detailed adjustments.
- Mobile Apps: Tools like Snapseed provide convenient editing on the go, accommodating casual travel photographers.
Each software has unique features tailored to various editing needs. Understanding what fits best enhances the editing experience and results in more appealing travel photos.
Essential Editing Techniques for Stunning Travel Photos
Editing can transform travel photos from ordinary to extraordinary. Proper techniques can enhance clarity, vibrancy, and overall visual appeal, allowing the images to reflect the beauty experienced during travels.
Adjusting Exposure and Contrast
Exposure and contrast are foundational elements in photo editing. Exposure controls the brightness of an image. It’s crucial to find a balance; overexposed areas can lose detail, while underexposed areas may appear too dark.
To adjust exposure, use the histogram to gauge highlights and shadows. An ideal histogram has values spread evenly across the scale.
Contrast adds depth by emphasizing the difference between light and dark areas. Increasing contrast can make colors pop and enhance textures. However, too much contrast can lead to loss of detail, particularly in highlights and shadows. A subtle adjustment often yields the best results.
Enhancing Colors with Saturation and Vibrancy
Photos often benefit from enhancements in color saturation and vibrancy. Saturation boosts the intensity of all colors uniformly. Care should be taken not to oversaturate, as it can result in unnatural hues.
Vibrancy, on the other hand, selectively enhances colors that are less saturated while preserving the already vivid tones. This technique is beneficial in travel photography to maintain the natural appearance of landscapes and subjects.
To apply these adjustments, use sliders in editing software. Start with slight increases and observe the changes. A balanced approach ensures the photo remains realistic yet striking.
Refining White Balance and Color Temperature
White balance is essential for correcting color casts that can occur due to various lighting conditions. Proper white balance conveys accurate colors, making the image feel more natural. Adjusting the slider to correct for warm or cool tones will help achieve this balance.
Color temperature refers to the warmth or coolness of the image. Travel photos taken in different lighting conditions may require adjustments to color temperature to evoke specific moods. Warmer temperatures often create a cozy, inviting atmosphere, while cooler temperatures can convey a crisp, fresh feel.
Editing tools typically include presets or sliders to assist in fine-tuning white balance and color temperature. Experimenting with these adjustments can lead to more visually appealing travel photos.
Advanced Editing Methods and Creative Touches
Enhancing travel photos involves several advanced editing techniques. These methods can significantly improve image quality and introduce unique artistic effects.
Sharpening and Noise Reduction
Sharpening increases the clarity of details in an image. In programs like Adobe Lightroom and Photoshop, the “Amount,” “Radius,” and “Detail” sliders are essential for controlling sharpening levels.
Noise reduction removes unwanted graininess, particularly in low-light photos. Tools in Lightroom and Capture One allow users to adjust luminance and color noise separately.
The goal is to achieve a balance where the image appears crisp without showing artifacts or excessive sharpening. Professionals often recommend using these tools in moderation to maintain a natural look.
Using Presets and Filters
Presets and filters provide a quick way to enhance travel photos. Many photo-editing applications, such as VSCO and Snapseed, offer various presets tailored for different styles.
Using presets can help establish a consistent look across a series of images. They typically adjust exposure, contrast, saturation, and tone curves automatically.
While using filters, it’s crucial to fine-tune the settings to fit individual images. This ensures each photo maintains its unique characteristics while benefiting from the applied enhancements.
Applying Local Adjustments
Local adjustments allow for targeted edits on specific areas of a photo. Tools such as adjustment brushes and gradient filters enable users to modify exposure, contrast, and clarity in selected regions without affecting the whole image.
In Adobe Lightroom, the radial filter can highlight subjects, enhancing their visibility against softer backgrounds. Photoshop users often utilize layer masks for even finer control.
These adjustments can create visual impact, drawing attention to focal points and improving overall composition. They enable a personalized touch, highlighting specific details relevant to the travel experience.
Blemish Correction and Image Healing
Blemish correction tools are crucial for refining images. They help eliminate distractions such as dust spots or skin blemishes found in travel portraits.
Adobe Photoshop offers the Spot Healing Brush and Clone Stamp tool for precise corrections. In Lightroom, the Spot Removal tool serves a similar purpose.
Using these tools effectively enhances the photo’s impact while ensuring that the corrections appear seamless. Properly executed blemish removal helps maintain viewer focus on the beauty and essence of the travel experience captured in the photo.
Optimizing Composition and Preparing for Web Sharing
Effective composition and preparation for web sharing can significantly elevate travel photos. By focusing on cropping, vignetting, aspect ratio adjustments, and proper exporting techniques, a photographer can enhance visual storytelling and make images more appealing for social media platforms.
Cropping for Better Framing
Cropping allows photographers to focus on the most compelling aspects of an image. The crop tool can help eliminate distractions and improve framing, leading to a more engaging composition.
Utilizing the Rule of Thirds is an effective technique. This rule places focal points along imaginary lines dividing the image into thirds both horizontally and vertically. When used correctly, this principle guides the viewer’s eye and creates balance.
To crop effectively, always keep the main subject in mind. Consider the scene’s context and remove unnecessary elements that do not contribute to the story.
Vignetting and Leveling
Vignetting can be used to guide the viewer’s focus toward the center of the photograph. The vignette tool darkens the corners, subtly emphasizing the subject. This technique is particularly effective for portraits or close-up shots.
Leveling ensures that the horizon line is straight, which maintains a polished look. An unlevel image can distract viewers and detract from its overall quality.
Using grid lines during editing can make it easier to assess if the image is properly leveled. A few adjustments with this tool can drastically enhance the aesthetic appeal of travel photos.
Perfecting Aspect Ratio and Straightening
Choosing the right aspect ratio is essential for web sharing. Different platforms have varying requirements, with Instagram, for instance, favoring square (1:1) images or vertical (4:5) formats.
When straightening images, it’s crucial to consider the composition. A level image enhances professionalism and readability. This step is particularly important for landscape and architectural shots, where alignment can affect the visual story.
Photographers should ensure the aspect ratio complements the composition. Maintaining a balance between the subject and the surrounding elements is key to effective visual storytelling.
Exporting Travel Photos for Social Media
When exporting images for social media, file size and format matter. JPEG is the most common format for web sharing due to its balance between quality and compression.
For best results, export at the highest resolution possible without exceeding platform limits. This ensures that details remain sharp, especially when viewed on larger screens.
Consider post-processing techniques like adjusting lighting, and contrasts, and applying subtle filters that fit the mood of the image. Golden hour lighting often enhances travel photos, making them more visually appealing to audiences.
Pay attention to each platform’s specific guidelines regarding dimensions and file sizes. Tailoring exports to meet these requirements maximizes visibility and engagement on social media.